
Buyer guide · Endoscopy camera systems
Evaluating an All-in-One Endoscopy Camera System
Define the complete workflow first, then compare each system with the same equipment, room setup, tasks, and documentation requirements.
Start here
Evaluate the system as a complete working setup
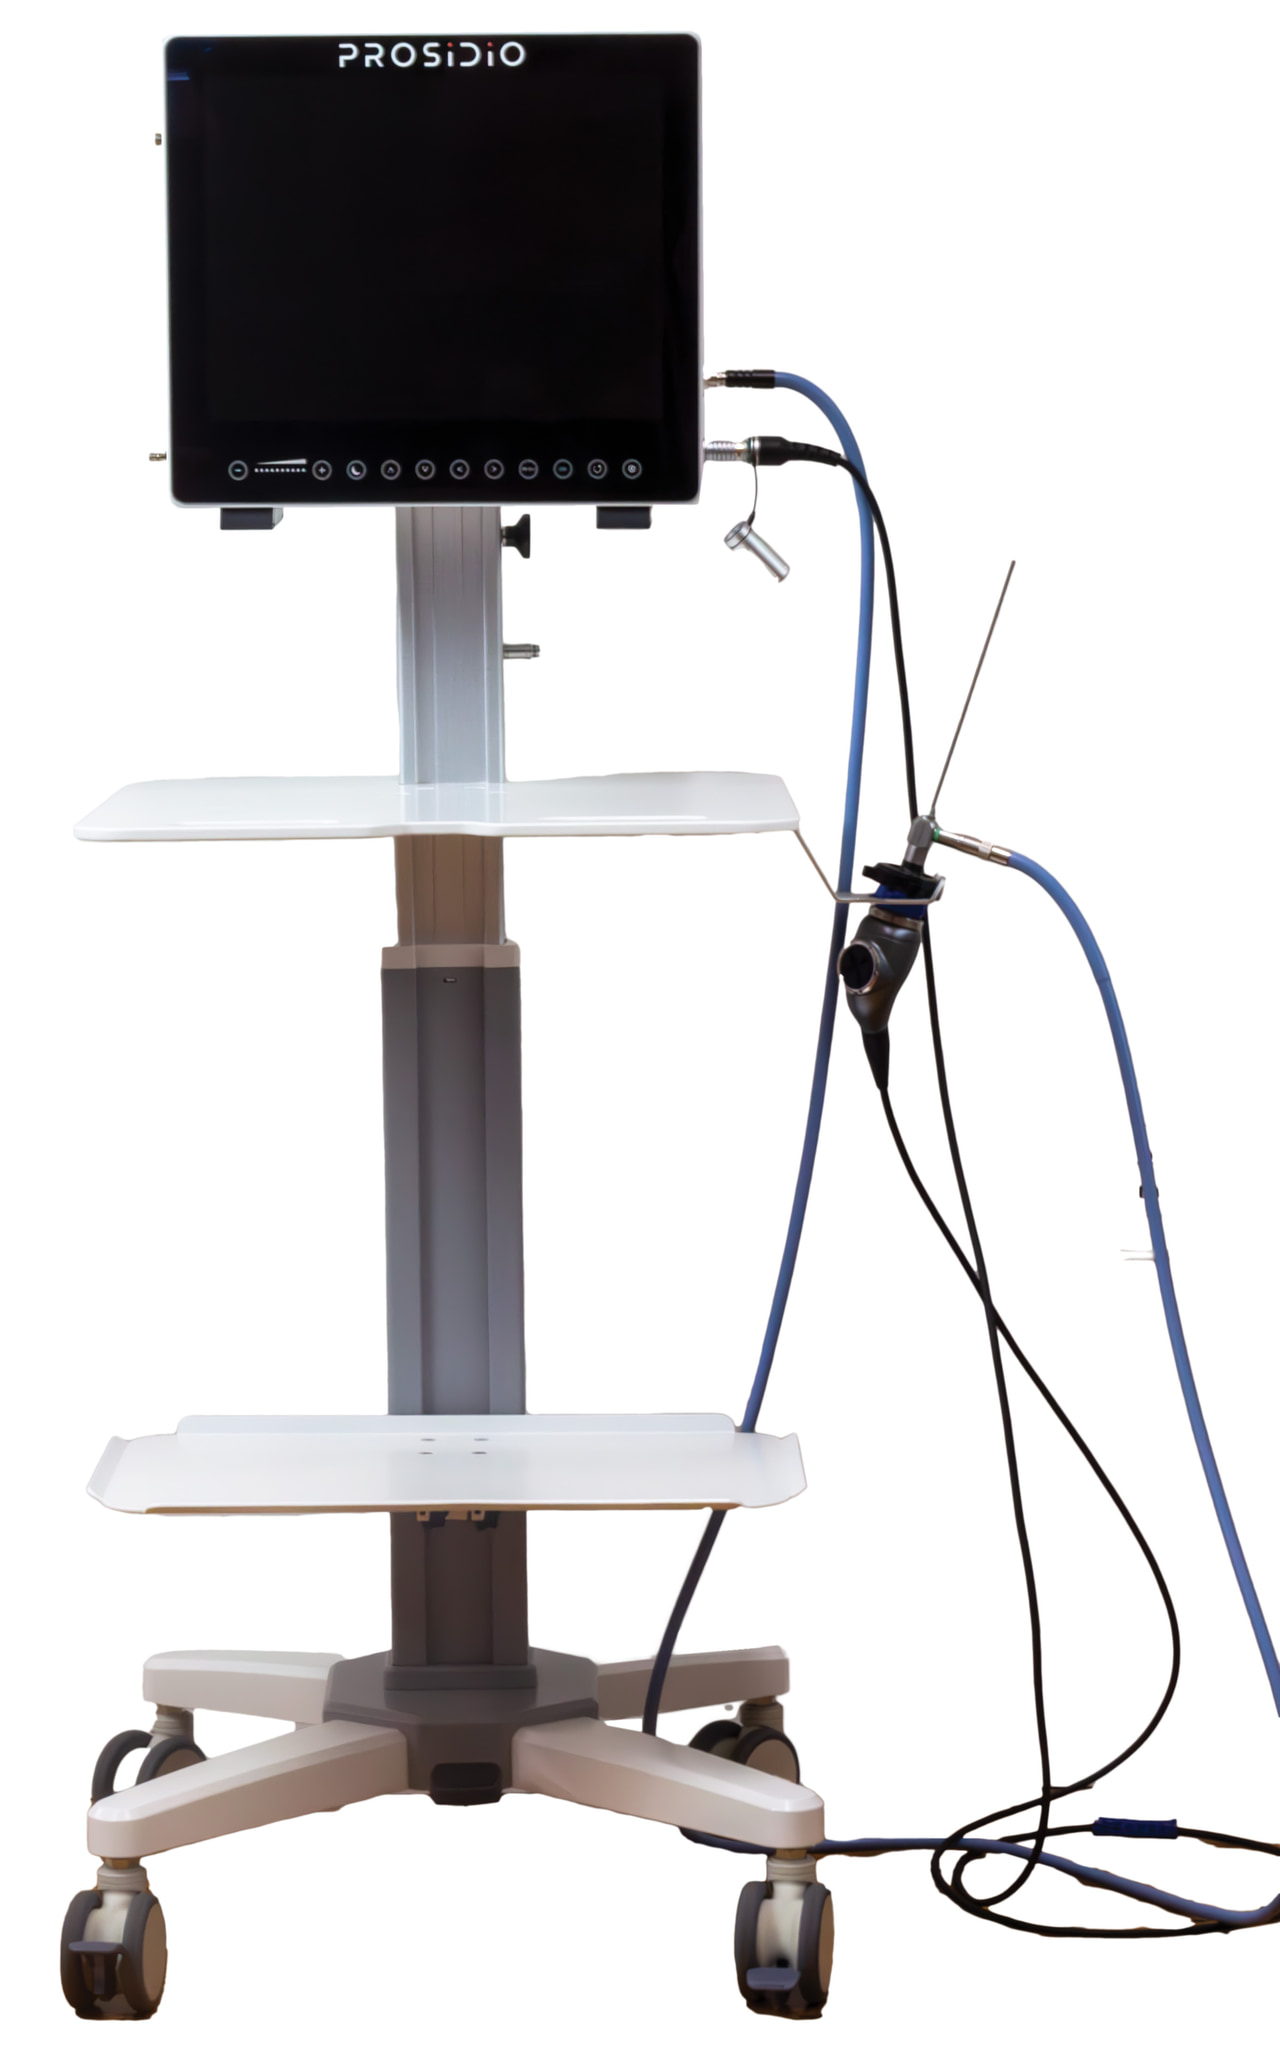
An all-in-one design can place several parts of the imaging workflow in one physical system, but the included functions and connections vary by configuration. Begin with the equipment and tasks your team must support rather than with a feature list.
Use the same endoscope, camera connection, light connection, display material, capture task, room location, and evaluation sequence for every system. Record what was physically demonstrated and what is supported in current written documentation.
Six areas to define before comparing systems
Write down the required workflow in each area. This creates one repeatable comparison standard for demonstrations and proposals.
- 01
Complete configuration
List every component needed for the system to operate in your intended setup, including camera, optics, light path, display, controls, cables, cart or mounting, and capture accessories.
- 02
Connection map
Identify the exact physical and electronic connections between the endoscope, coupler, camera, light source, display, storage, and any external systems.
- 03
Image review
Compare the displayed image using the same test material and settings. Record viewing distance, ambient light, display mode, and any processing settings used.
- 04
Capture and export
Walk through still-image and video capture, file naming, review, export, and transfer using the destinations and file-handling process your team requires.
- 05
Room fit and controls
Confirm the proposed location, movement path, cable reach, screen position, control access, storage, power, and shutdown routine in the actual room layout.
- 06
Documentation and support
Request the current instructions, component list, compatibility statement, warranty terms, service process, training materials, and support contact for the quoted configuration.
Side-by-side evaluation worksheet
Use one row for each decision area and retain the same test conditions across vendors or configurations.
| Factor | Questions to verify | Record or request |
|---|---|---|
| Configuration |
| A dated component list for the exact configuration evaluated. |
| Compatibility |
| Model-specific compatibility documentation and required adapters. |
| Display |
| Display model, active settings, output format, and test conditions. |
| Capture |
| A sample file and a written capture/export workflow. |
| Room setup |
| Room measurements, system dimensions, cable reach, and power needs. |
| Lifecycle support |
| Current service, warranty, maintenance, and training documents. |
A repeatable evaluation sequence
A controlled sequence makes it easier to separate configuration differences from differences in the way each demonstration was conducted.
- Step 1
Document the baseline
Record the current equipment, required connections, room measurements, capture destinations, user roles, and any mandatory documents before scheduling demonstrations.
- Step 2
Confirm the test setup
Agree on the endoscope, camera connection, light path, display material, room conditions, settings, and files that will be used for every comparison.
- Step 3
Run the workflow
Complete startup, connection, image review, capture, export, shutdown, movement, and storage tasks in the order your team would normally perform them.
- Step 4
Match claims to documents
For each demonstrated function, identify the applicable manual, specification, compatibility statement, or other current product document.
- Step 5
Resolve open items
List every unanswered question, assumed accessory, untested connection, and pending document before making the final comparison.
Documents and details to collect
Check off each item for the exact configuration being considered. Keep revision dates with the evaluation record.
System record
Workflow record
Product documentation
Support record
Make the decision from a documented configuration
A product label alone does not define the working system. Base the final comparison on the exact components, connections, settings, room conditions, documentation, and support process that were evaluated.
Any item that was not demonstrated or documented should remain an open question rather than an assumed capability.