
Buyer guide · Surgical microscopes
Surgical Microscope Selection Guide
Define the intended use, optical requirements, user positions, room constraints, accessories, and documentation needs before comparing microscope configurations.
Start here
Select a complete microscope configuration around the intended use
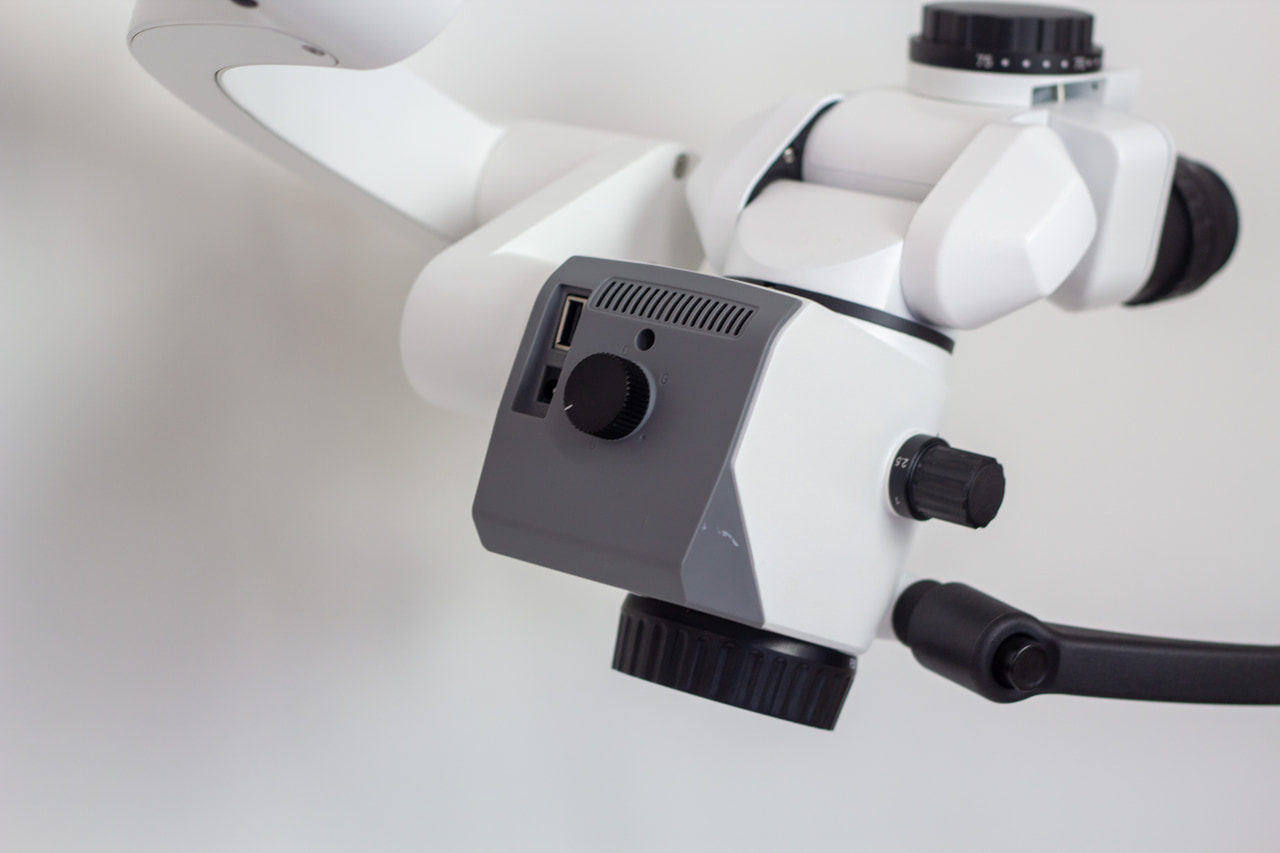
A surgical microscope evaluation should cover more than the optical head. The working configuration may include binoculars, objective or working-distance options, illumination, support arm, base or mounting, controls, documentation or imaging accessories, and user-specific positioning components.
Begin with a written room and workflow profile. Have each intended user evaluate the same defined tasks and positions, then retain the exact configuration, settings, accessories, and current documents used during the comparison.
What to define before a microscope demonstration
The useful comparison is between complete configurations in the planned environment. Record exact components instead of treating accessories and positioning options as interchangeable.
- 01
Intended use
State the intended application, environment, users, working positions, and documentation requirements, then confirm coverage in the current product information.
- 02
Optical configuration
Document the binoculars, eyepieces, objective or working-distance arrangement, magnification controls, focus controls, and any assistant or observation path.
- 03
Illumination
Review the light-source configuration, user controls, field presentation, replacement or service requirements, and any relevant inspection instructions.
- 04
Positioning and movement
Test reach, balance, articulation, lock controls, base movement, mounting, parking position, and repositioning from each required location.
- 05
User fit and controls
Have each intended user test viewing posture, adjustment range, hand or foot controls, access around the work area, and transitions between positions.
- 06
Imaging and accessories
Identify cameras, displays, recording equipment, beamsplitters, adapters, drapes, controls, and other accessories needed for the proposed configuration.
Surgical-microscope comparison worksheet
Record the exact hardware and adjustment range demonstrated for each row. Repeat the evaluation for materially different users or room layouts.
| Factor | Questions to verify | Record or request |
|---|---|---|
| Intended use |
| Applicable intended-use documentation and a written workflow profile. |
| Optics |
| Exact optical components, stated ranges, and demonstrated settings. |
| Illumination |
| Illumination configuration, settings, and applicable instructions. |
| Positioning |
| Room measurements, reach positions, mounting or base, and control locations. |
| User fit |
| User-by-user setup notes and any required positioning accessories. |
| Imaging and support |
| A complete accessory list, connection map, and support-document set. |
A practical microscope evaluation sequence
Use the same room plan and task sequence for each configuration, while allowing each intended user to complete individual setup and positioning checks.
- Step 1
Profile the environment
Record room dimensions, entrances, ceiling and floor constraints, equipment locations, work area, user positions, storage position, power, and movement paths.
- Step 2
Specify the configuration
List the optical head, binoculars, eyepieces, objective, illumination, arm, base or mount, controls, imaging path, and every required accessory.
- Step 3
Set up each user
Have each intended user adjust the viewing position and controls from a neutral starting point. Record settings and any additional component required.
- Step 4
Run planned positions
Move through the required working, observation, documentation, repositioning, parking, and storage positions without changing the agreed room layout.
- Step 5
Reconcile the record
Match every demonstrated component and function to the proposal, current product documentation, accessory list, installation plan, and support terms.
Surgical-microscope selection checklist
Complete the checklist for the exact microscope configuration and planned room. Repeat the user-fit section for every intended operator or observer position.
Optical system
Room and positioning
Users and accessories
Implementation record
Approve an exact, room-tested configuration
A surgical microscope should be compared as an optical, positioning, control, imaging, and support system. The final record should identify every component and show how the configured microscope fits the intended use, users, and physical environment.
Leave any untested user position, accessory, room constraint, connection, or document as an open item until it has been demonstrated or confirmed in writing.