
Buyer guide · Imaging resolution
HD vs. 4K in Endoscopy: An Equipment-Chain Guide
Compare complete, documented imaging chains under the same conditions. A resolution label on one component does not describe every stage of the displayed or recorded image.
Start here
Compare the complete signal path, not just HD and 4K labels
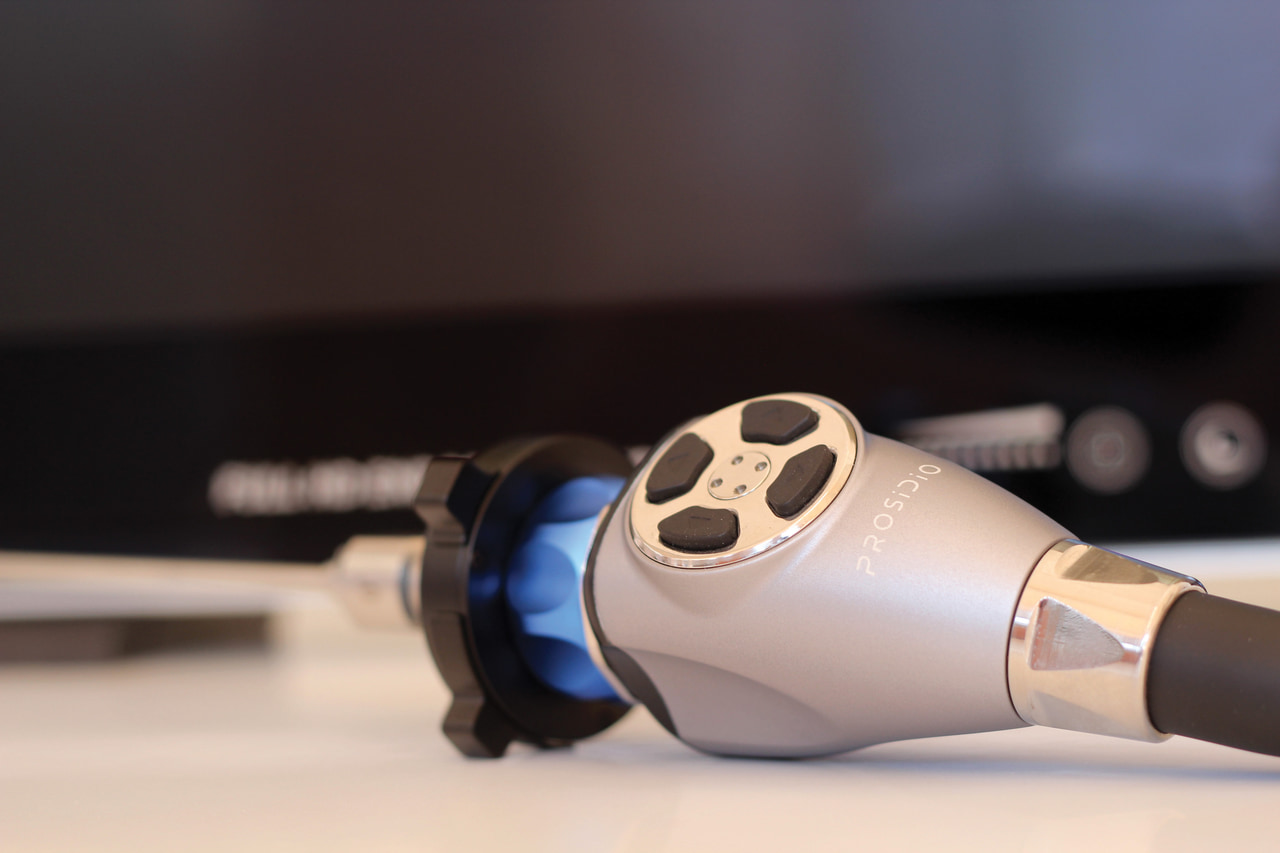
The image reaching a display or recording passes through multiple optical and electronic components. The endoscope, coupler, camera head, processor, output, cable, display input, display panel, capture device, and active settings can each affect the final presentation.
Identify the native input and output resolution at every relevant stage. Then compare complete configurations using the same test material, viewing distance, ambient light, display size, settings, and recording method. Document what is displayed and what is actually captured.
Map the resolution chain
Treat each link as a separate verification point. Record conversions, scaling, adapters, and capture limits instead of inferring them from the highest resolution named in the setup.
- 01
Optical input
Record the endoscope, optical coupler or adapter, and camera connection used for the comparison. Keep them consistent when evaluating different processors or displays.
- 02
Camera and processor
Confirm the camera output, processor input, internal processing modes, and available output formats for the exact components and settings evaluated.
- 03
Signal output and cabling
Identify the selected output port, format, refresh rate, cable type, adapter, cable length, and any intermediate device in the path.
- 04
Display input and panel
Record the active display input, reported signal, panel resolution, aspect ratio, image mode, scaling, screen size, and viewing distance.
- 05
Capture and export
Verify the resolution, format, compression, frame rate, storage method, and export path for still images and video separately.
- 06
Comparison conditions
Control test material, lighting, viewing position, component settings, cable path, and capture method so the comparison can be repeated.
HD and 4K configuration worksheet
Complete a separate worksheet for each configuration. Use the documented signal at each stage rather than a general system label.
| Factor | Questions to verify | Record or request |
|---|---|---|
| Optics and camera |
| Exact component identifiers and the applicable documentation. |
| Processor output |
| Port, format, resolution, refresh rate, and active processing settings. |
| Cable path |
| A connection diagram with exact component and cable identifiers. |
| Display |
| Display model, input, reported signal, settings, size, and viewing distance. |
| Still-image capture |
| An original sample file with its properties retained. |
| Video capture |
| An original sample clip plus the documented capture and export settings. |
How to compare configurations fairly
Change one defined part of the setup at a time, or document every changed part when a complete-system comparison is required.
- Step 1
Draw both signal paths
Create a component-by-component diagram for each configuration, including optical components, processor, ports, cables, adapters, display, and capture equipment.
- Step 2
Set fixed conditions
Choose the test material, room lighting, screen position, viewing distance, active display mode, capture task, and evaluation order before the comparison begins.
- Step 3
Verify active signals
Confirm the selected input and output formats on the processor, display, and capture device instead of relying on default settings or front-panel labels.
- Step 4
Review display and files
Assess the live display at the planned viewing position and inspect original captured files at their native dimensions. Keep observations separate for display and recording.
- Step 5
Record the differences
Note every hardware, software, setting, cable, viewing, and file-handling difference so the comparison can be reproduced and interpreted later.
Resolution evaluation checklist
Use the checklist for every HD or 4K configuration being compared. A checked item means the value has been observed or confirmed in current documentation.
Source and processing
Output and display
Capture record
Comparison controls
Choose from the observed workflow and complete record
HD and 4K describe resolution categories, but the relevant decision is how each complete, documented configuration functions in the intended room, display, capture, and file-handling workflow.
Retain the connection map, settings, test conditions, original files, and open questions with the evaluation. This prevents a component label from standing in for the performance of the entire chain.