
Buyer guide · Rigid endoscopes
Rigid Endoscope Selection Guide
Translate the intended setup into a documented set of optical, mechanical, connection, handling, and processing requirements before comparing products.
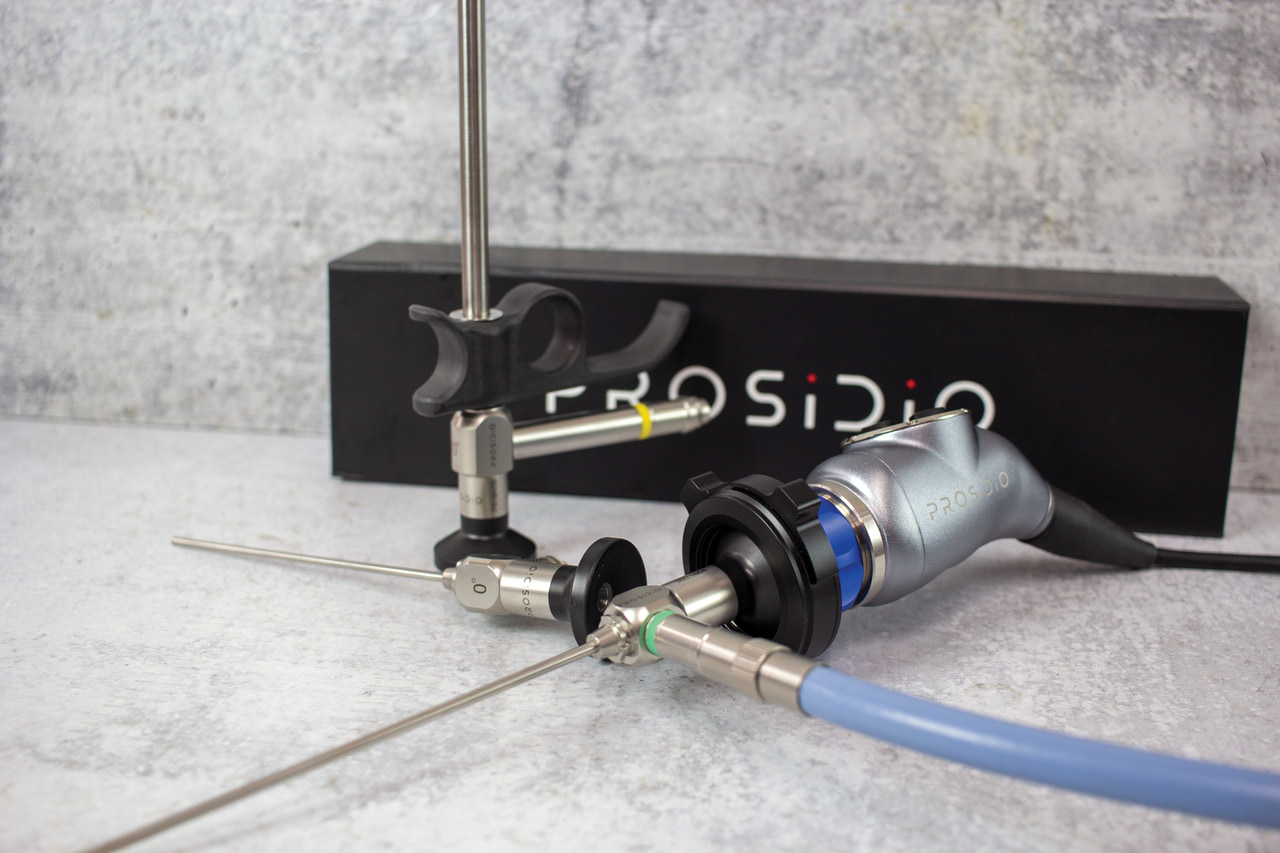
Start here
Start with the intended setup, not one specification
Rigid endoscopes are selected as part of a connected imaging setup. The relevant comparison includes the scope itself, the direction of view, dimensions, camera connection, light connection, handling method, accessories, processing instructions, and the equipment already in use.
Write the required characteristics before reviewing options. Confirm every selected configuration against the current instructions, product documentation, and written compatibility information for the exact components involved.
Core selection dimensions
Each dimension should be tied to the intended use and to a specific, documented configuration. Avoid substituting a similar product name or appearance for written confirmation.
- 01
Intended use and application
Define the application and environment first, then confirm that the current product documentation covers that intended use.
- 02
Diameter and working length
Record the required scope diameter and working length as separate dimensions, including any limits created by accessories or the complete setup.
- 03
Direction of view
Identify the required viewing direction and how users will recognize, orient, and handle it in the planned workflow.
- 04
Camera connection
Map the connection from the eyepiece or proximal end through any coupler or adapter to the camera head and processor.
- 05
Light connection
Confirm the compatible light guide, connector or adapter, and light source as one documented path rather than as separate assumptions.
- 06
Handling and processing
Review inspection, transport, cleaning, disinfection or sterilization, storage, and damage-check instructions with the responsible team.
Rigid-endoscope comparison worksheet
Record the exact value, component, or document for each row. Keep the same reference camera and light setup when comparing image presentation.
| Factor | Questions to verify | Record or request |
|---|---|---|
| Intended use |
| Current instructions and the applicable intended-use language. |
| Physical dimensions |
| Documented dimensions, units, model identifier, and revision date. |
| Viewing geometry |
| Direction-of-view designation and its physical orientation marker. |
| Imaging path |
| A complete, model-specific connection map. |
| Illumination path |
| Supported light-path components and applicable instructions. |
| Processing and care |
| Current processing instructions and internal responsibility assignment. |
How to run the comparison
Use a defined sequence and one reference setup so that configuration changes are visible in the record.
- Step 1
Define requirements
Document the intended use, required dimensions, viewing direction, existing camera and light equipment, processing resources, and storage method.
- Step 2
Build the component map
List every scope, coupler, adapter, camera head, processor, light guide, light source, cable, and accessory in the proposed setup.
- Step 3
Inspect before use
Follow the applicable instructions to inspect the scope and connected components, and record any item that cannot be evaluated as supplied.
- Step 4
Compare consistently
Use the same camera, light path, display, settings, test material, and room conditions when comparing image presentation and handling.
- Step 5
Review the full record
Resolve differences between the demonstration, proposal, compatibility information, and current instructions before selecting the configuration.
Rigid-endoscope selection checklist
Complete this checklist for each individual model or configuration under consideration.
Scope identification
Connected system
Care and handling
Records and support
Select the documented configuration
The scope, camera connection, and light path should be evaluated together. Record exact identifiers and current documents so that the selected setup can be reviewed, reproduced, and supported.
If any dimension, intended use, connection, adapter, processing step, or accessory remains unconfirmed, keep it on the open-items list until written information is available.